Today we welcome Debra to the blog sharing a beautiful, bright and cheerful layout using a lot of Fussy cutting ephemera to set the scene on her page
Welcome back Debra


.jpg)

.jpg)

.jpg)
thank you Debra for your lovely page full of inspiration


Today we welcome Debra to the blog sharing a beautiful, bright and cheerful layout using a lot of Fussy cutting ephemera to set the scene on her page
Welcome back Debra

CHRISTMAS LAYOUT
DESIGN TEAM DENISE BODDEY DESIGNS
NEW CHRISTMAS EPHEMERA

This sweet
layout is a very relaxed page to do as I focused on the beautiful new ephemera.
1. Choose one of Denise’s papers that
display your style and compliment your photos. I embossed the top left corner
with a Christmas theme, it is hard to photograph but it looks good.
2. After choosing your photo cut 3 larger pieces about half inch larger than your photo. Angle them a little leaving the photo straight on your page. I used some gold twine at the bottom of the left side of the photo and tied a bow. View below images.
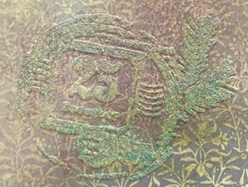
Embossing in the top left corner.


3. I did lots of fussy cutting using the
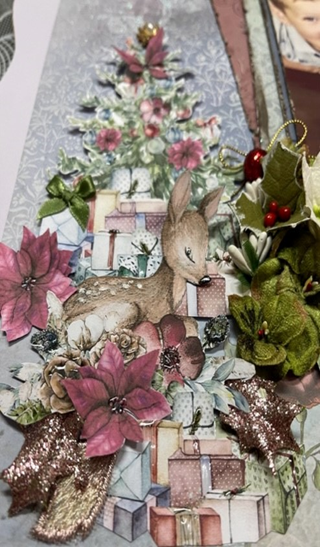
Christmas Tree, Ute, Christmas boxed presents, Flowers & a Bow.
4. I added the Christmas Tree to the
left of my photo, view image. I added lots of boxed presents, the beautiful
Deer, flowers and a few bling leaves from my stash. Then I added the Ute under
the photo of my Grandson leaving room to fill the back of your Ute with
ephemera, I used flowers, boxed presents and a large bow.
5. I finished with adding Glossy Accents
to my Christmas Tree as we always need Christmas bling and also to areas I
wanted to highlight.

Layer your
fussy cutting to enhance your photo or hopefully my layout has inspired you.


Today we welcome Tina back to the blog with her layered layout

Welcome to my latest share for Denise Boddey.
I used a photo taken of my friend since kindergarten at my daughter's wedding.
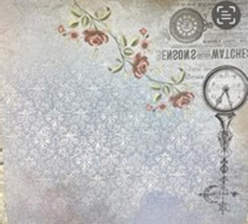
Today I have used just 2 papers from the Elegance collection, style and chic.

I added stenciling and water colour to my base card stock.

I tore the middle out of chic. then lined it up on my paper, I then sewed the middle piece down to the cardstock
I fussy cut some flowers and clocks.
I took the oval frame and covered with white gesso then used water colours and embossing powder I cut the frame to tuck into my layers.

I love how this turned out! added texture and interest to the layers.

I added some glossy agents to the flowers to give them some interest.

I found a Charms heart in my stash, some gems, word strips and cotton.
Lastly I finished with silver and white splatters.

Happy Sunday and happy Fathers day and what a beautiful day here in Adelaide to celebrate the day for Fathers
Today Tina is visiting us with her delightful page love all the little words she has used through out the page
just makes it more personal and inspiring

Hi. Hope you weekend has been full of craft.
For this page I started with the castle gates chipboard and altered them. I love the texture and added interest they add to the page.

I started with paper song blossom. Added layers behind my photo.

I then added lots of fussy cut elements from various papers.
.jpg)
Added some cheese cloth, a Charms Creations heart as well as white and gold splatters.


Hope everyone had a lovely weekend Tina is back again this evening sharing another fantastic Scrapbooking page which she has created for us
Welcome back Tina

Happy Sunday Everyone. Hope this day treated you well. For my share this evening I used a range of papers from the Le Jardin Romantique range, with Enchanted Florals as my base. This was the perfect collection to document my inclusion into this awesome design team. I mean who wouldn't love to play with the awesome papers and chipboard that Denise designs?
I started work with my chipboard first. I used Small florals and Dream total. I covered them with glue and then added gliding flakes. I let the glue dry and then sanded away gentle with a scrubber the excess flakes. I love how this turned out! Its really effective.

I then fussy cut some flowers and punched a few out. I edged them all using distress ink. I also made some hand rolled flowers. These are so much fun to make and best of all they will match your project perfectly.


I tore a piece of natures romance for across the top and rolled it. Since I had gliding flakes every where!!! I added some into my flowers, this then brought the gliding flakes more around the page which helps make the page more cohesive.
I then layered all my elements around.

I add some foam tape under some elements to give extra interest and shadows. I have also bent and twisted some elements to give extra texture .

I added some prills in the middle of some flowers and a clock fussy cut from chic paper.

I added some splatters and word strips as well and some cheese cloth. Lastly I layered my cut down chipboard. I am really pleased with how this turned out.
I hope to see some of your creations with this fabulous paper range shared in our group Facebook DBD share and inspire group
Thank you for sharing your scrapping time with me.

Good Morning running a little late today I am enjoying the beautiful Sunday morning
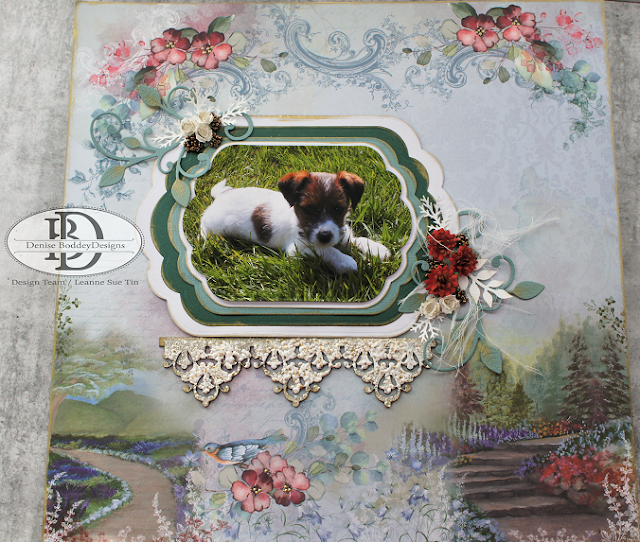
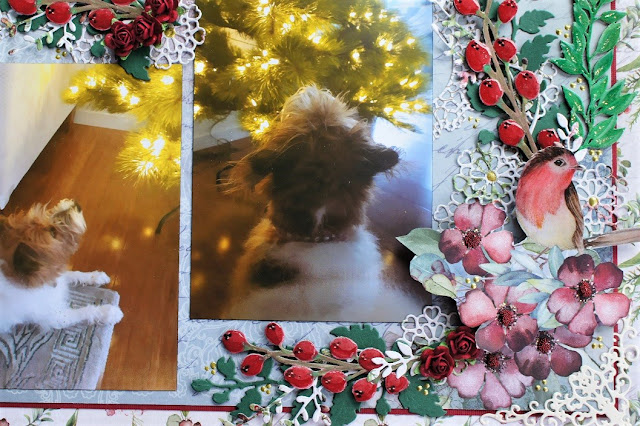
Today on the blog we get to welcome Leanne back. she has created 3 delightful pages all very different in themes showing the versatility of the Le Jardin Romantique Papers.
Thankyou Leanne for these fantastic pages if you would like to see more of Leannes work here is a link to Leanne's blog
Hello everyone, Leanne here with you today.

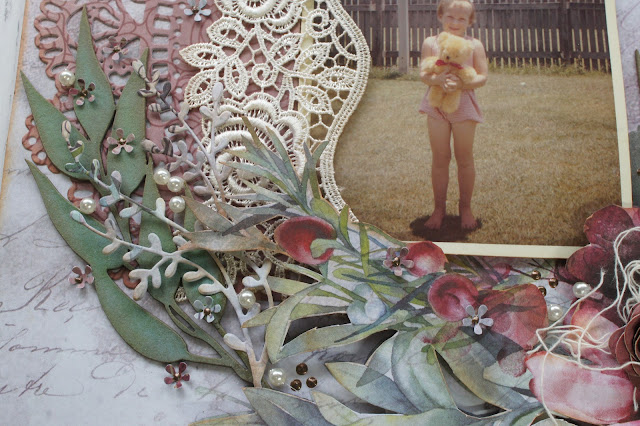
My first page is called: ME.