May 8, 2022

Fairytale

  Happy Sunday, and Happy Mothers day hope you all are enjoying your Sunday 

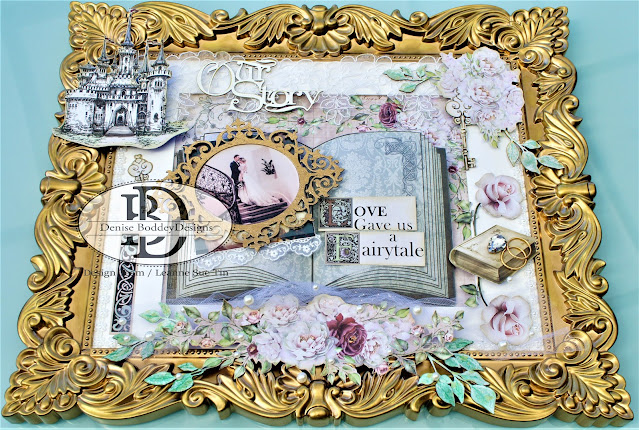
Today Leanne is on the blog sharing her stunning picture frame page. 


                                                                Hello everyone,

Leanne here with you today and I would
like to share with you a project that I have created 
using the latest patterned papers called
Day Dream Story Book

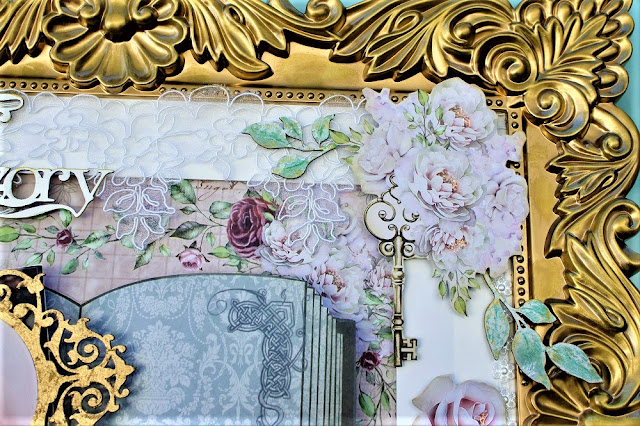
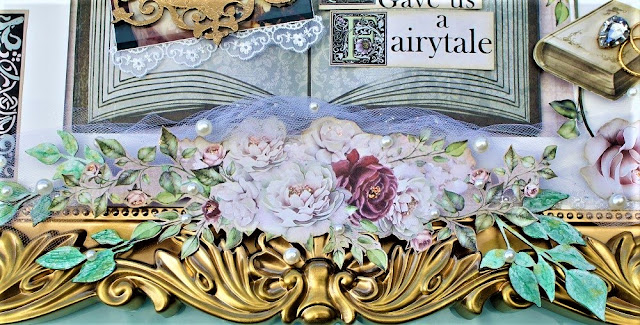
First I sprayed the Heidi Swapp large plastic frame with gold paint.

The beautiful designer patterned papers have been fussy cut
and adhered to my frame using foam tape.

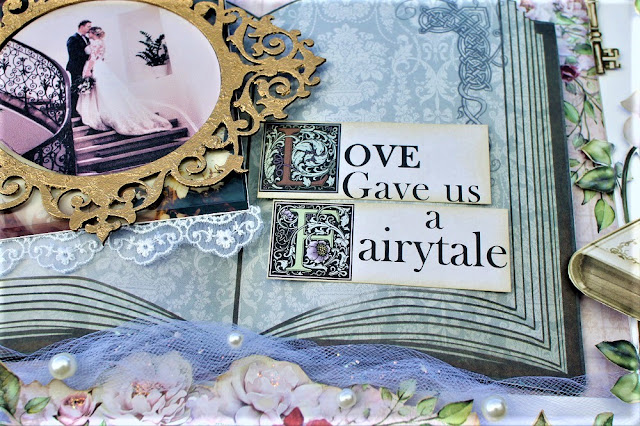
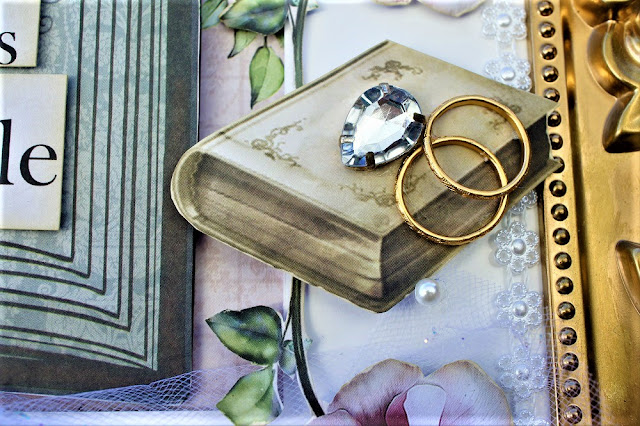
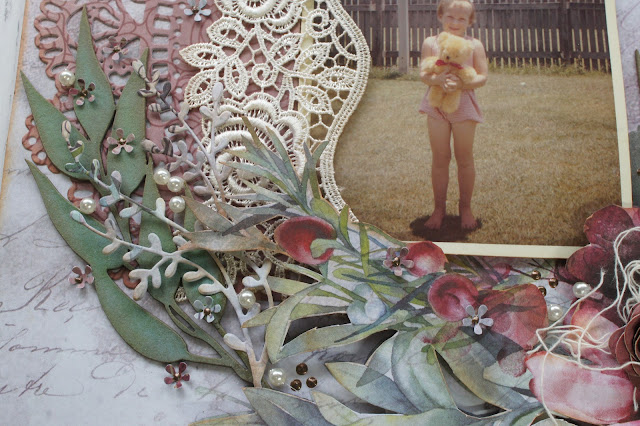
I have added decorative elements of lace,
tulle, pearls, charms and trims.

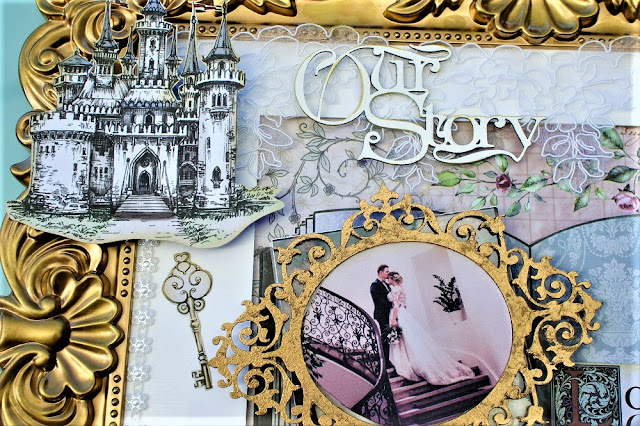
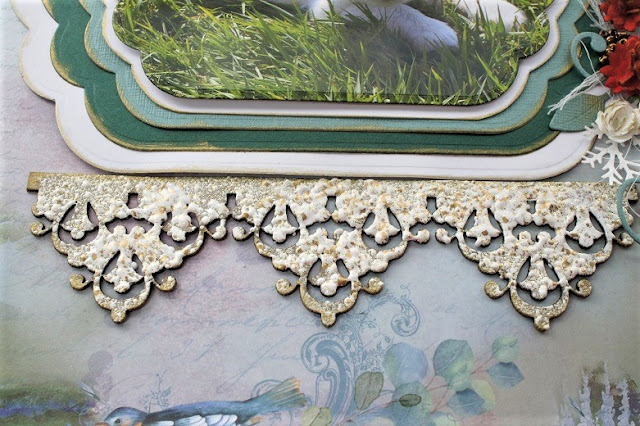
The chipboard frame has been sprayed painted 
with the same gold paint as the larger plastic frame.
Our Story chipboard was painted with white acrylic paint.
The leaves were painted with posca paint pens.


Products used:
Day Dream Story Book patterned papers:
Chapters x 1
Our story x 2
Plus chipboard items
All products are available from
Denise Boddey Design Store.

So until next time,
Happy creating,
Leanne

Thanks for dropping by hope everyone has a lovely Sunday


April 24, 2022

Believe


Happy Sunday hope you all are having a lovely long weekend.

 Today Tina is sharing her reminder clock to Make the time to Believe in yourself, a big welcome to Tina again

Hello and welcome to my share . 

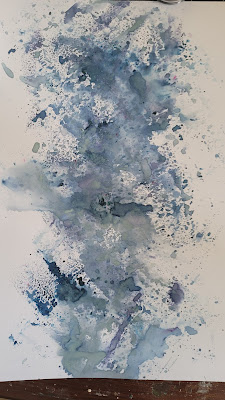
  • I started with a piece of packaging which I coated with several layers of gesso. 
  • I then added a brick stencil and then layers of colours. 
  • I added some stamping.


  • I then focused on the clock chipboard. 
  • I added colour and then some embossing powder. 
  • I did  the same with  the scroll leaves. I cut them up to use in layers.


  • I wrapped some Hessian ribbon around the clock. 
  • I added layers of paper from the new fabulous story book range behind my papers. 
  • I coloured some flowers as well as making  home-made flowers from the paper range. 
  • I used the believe in yourself title. I covered in black gesso then added some waxes which are available in store.


  • some coloured cheese cloth, splatters and microbeads finished the project. 


Thank you for stopping by! I hope this inspires you


April 3, 2022

Altered pencil case

 Good Morning and happy Sunday. Hope this post finds you all well today we welcome Theresa back to the blog to showcase her awesome altered pencil case box with step instructions


  • I have taken an MDF pencil box and a selection of papers from Denise Boddey Le Jardin Romantique collection along with a couple of Denise Boddey chipboards


  • I have painted the entire box with a mixture of acrylic paints and also painted my chipboard pieces with white gesso


  • Next was to add my papers to the box both inside each compartment and on the lid


  • I have glued the chipboard pieces to the side of the box 
  • I have used Archival inks to colour the hair and vines on the chipboard pieces for the lid
  • I have layered the chipboard on the lid adding some muslin around the chipboard
  • Also 3 d mounting some flowers over the top of others on the lid
  • I’ve also added some corner pieces to the box lid and a drawer latch handle to pull it open with 


thank you Theresa for this fantastic project


March 27, 2022

Showcasing Le Jardin Romantique collection


Good Morning running a little late today I am enjoying the beautiful Sunday morning 

Today on the blog we get to welcome Leanne back. she has created 3 delightful pages all very different in themes showing the versatility of the Le Jardin Romantique Papers.

Thankyou Leanne for these fantastic pages if you would like to see more of Leannes work here is a link to Leanne's blog

 Hello everyone, Leanne here with you today.


I am sharing three scrapbook pages that I have created using, 
the beautiful patterned papers from the Le Jardin Romantique collection.

My first page is called: ME.


I have used the following: Patterned paper:
2 sheets of Enchanted florals

Chipboard:
Fern Hanging
I have coloured my chipboard piece using distress inks.

To create my page: 
 I have fussy cut and die cut shapes then assembled the roses. 
I used a paper punch along two edges,
and embellished with lace, cotton fiber, stickles and pearls.

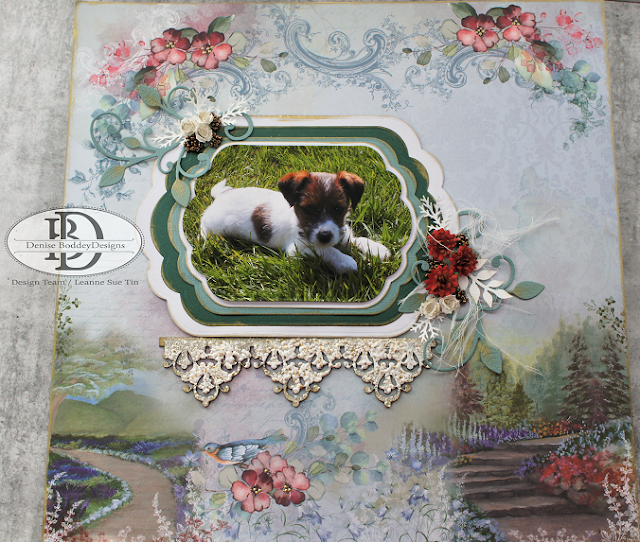
My second page is called: CUTE PUPPY.


I have used the following Patterned paper:
Garden Letters

Chipboard:
Elegance card boarder
I have used embossing powder to emboss the chipboard.

To create my page:
I have die cut and punched out shapes.
I have embellished with cotton fiber, seed beads and paper flowers.

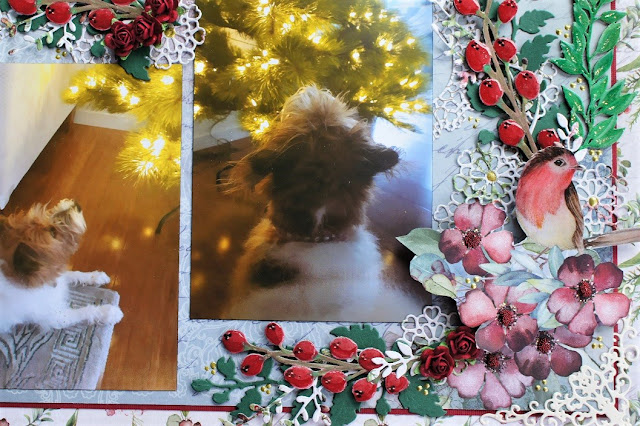
My third page is called: OH CHRISTMAS TREE.


I have used the following Patterned papers:
Song Blossom
Natures Romance

Chipboard:
Berries large
Foliage Stems
To colour the chipboard I have used watercolour paints.

To create my page:
I have fussy cut the patterned paper.
I have embellished with paper roses, die cuts, stickles and micro beads.
 
All patterned papers and chipboard can be found at
Denise Boddey Designs Store.

I hope you have fun creating.
Leanne


March 20, 2022

3 Romantique cards

 Good Morning

Julie is back with us today to share some awesome cards she has made.

Julie will be holding a class at our Retreat in April couple more days left to secure a place as I will be finalizing numbers and signing the paperwork very soon head on over to the Website for more details. 

lets welcome Julie to the blog.


Good morning

Today I am sharing three cards I made with the beautiful 
Denise Boddey Le Jardin Romantique patterned papers


 Card 1is a Z fold card


I create all of my own card bases using 300gsm smooth white cardstock.

For the first card I cut a piece of cardstock 10 1/2" x 5 1/4"
I scored it at 2 5/8" and 5 1/4"
The card is folded in half on the 5 1/4" score and the fold at the 2 5/8" score is a valley fold.

All of the patterned paper on this card have had the edges distressed 
with my distressing tool and inked with a black Versacolor Ink cube.

I cut three pieces of Song Blossom
 1 @ 5" square
2 @ 2 3/8" x 5"

these were attached to the three sections you can see when your card is open.

I used my Spellbinders Decorative Labels 8 and Enchanted Florals to cut a panel.
I ran this panel through my Big Shot with Couture Creations 
Flamingos & Hedgehogs embossing folder.

I swiped my black ink cube over the front of this panel to help the design stand out a little more.

 The panel was then attached to the front for the card so it over hangs the 2 5/8" folded line.

I trimmed a piece of scalloped lace and attached that overlapping the left edge of the rectangular panel.

I have painted a piece of chipboard white and added that on top of the lace.
I am not sure of the name of this chipboard, it looks like a sea grass. I have cut it in half to use.

I have fussy cut images from Natures Romance and Song Blossom
to embellish further. These were added on top of the chipboard.

The sentiment is computer generated, it is matted it onto a piece of Enchanted Florals 
and attached it to the card front with a piece of cardboard behind it.


 Card 2 is an easel card 


The card base is the same size as the previous card and scored at the same measurements.

I have also cut a 5 1/4" square piece of the same cardstock.

Fold your card in half at the 5 1/4" score and a mountain fold at the 2 5/8" score line.

Flatten the front of the card base, and with your card sitting right was up,
apply glue to the right hand half of the the front section.

Lay the 5 1/4" square of cardstock directly on top of the cardbase, 
being sure to line up all of the edges.

Now we have our cardbase ready to decorate.

All of the edges of the patterned papers on this card have been distressed
in the same way as the first card.

I cut two 5" squares from Garden Letters and two pieces 2 3/8" x 5" from Natures Romance

One of the 5" squares was attached to the front of the card 
and the other was attached to the inside back panel.

The two smaller pieces were attached to the inside folded section of the card.

I also cut another piece of the Garden letters 4 3/4" square.
I used the reverse side of the paper and attached it to the front of the card

I used a Martha Stewart punch to punch along 
one of the longer sides of a 3 1/2" x 4 3/4" piece of Enchanted Florals 

I cut a piece of the Natures Romance 3" x 4 3/4" 
and punched along one of the longer edges with the same punch.

 I layered these on top of each other lining the left hand edges up with each other 
with the punched edge on the right.

These were then attached to the front of the card.

I used the Couture Creation's Flamingos & Hedgehogs embossing folder 
to emboss a 2 1/4" x 4 3/4" piece of velum and attached that on top of the previous layers,
once again lining up the left hand edges.

A piece of blue and gold braid was attached on top of the panel so it curled around the panel randomly

My main embellishment was fussy cut from Song Blossom and attached to the front of the card with cardboard behind it
The sentiment is from Uniquely Creative and is matted on a piece of the Enchanted Florals paper.

This was attached to the inside back of the card with a piece of cardboard behind it, this is what holds the card open for display


I added a few drops of Nuvo Drops - Morning Dew 
randomly on the fussy cut image to finish this card off.

Card 3

This is a 5 1/4" square card


I cut my cardbase 10 1/2" x 5 1/4", scored and folded at 5 1/4" on the long side.

The patterned papers on this card have the edges inked with a black Versa Color ink cube.

The base layer for this card is a 5" piece of Enchanted Florals.

The next layer is a 4 3/4" piece of Natures Romance

I have cut a piece of tulle that has gold particles in it to 5" square and attached that next.

Lifestyles Nesting Doily Circles die and pearlised gold cardstock 
were used to create a doily for my next layer.

I have painted some chipboard leaves from Botanicals and Delicate Branch
with pearlescent water colours.

Using Craft Barn Primrose Stamp and Die set, I stamped, heat embossed and die cut my flowers.
Before assembling them I used my flower shaping tools to give them some dimension.

I have fussy cut a section from Song Blossom to be the foundation for my embellishment cluster.

The flowers and leaves were added next.
The flowers are mounted on cardboard.

The heat embossed sentiment was added next.

Finally I added Nuvo Glitter Drops - Midnight Sky
to the centre of each of the flowers.

Here is my process video. I hope you enjoy watching it


Thank you for spending part of your day here with me today
Till next time
Stay safe
Hugs
Julie

thank you Julie for three fantastic cards hop on over to check out Julie's video or her blog


March 13, 2022

Together for 31 chapters

Good morning happy Sunday here in Adelaide we are half way through the long weekend 
This lovely Sunday we get to welcome Tina back with a special page layout.


Hi. welcome to my share today. 
I thought since this week we celebrated/mourned, depending on the moment of the day our 31st wedding anniversary (I don't know were the time went!) I would do a page celebrating some highlights of the year.
  • I started with the paper chic from the elegance collection and fussy cut out the circles. 
  • I then grabbed white card stock, some distress oxides as well as a lindy's powder and did the packaging technique to add colour. 
  • I added some stamping and then some splatters.


  •  I grabbed the chapter title, arch and the numbers as well as the wagon wheels and embossed them with various embossing powders.


  •  I cut the arch into smaller pieces. I distressed all the edges of the photos and papers, then layered my photos which I had cut into circles onto various pieces from the Chic paper. using either foam tape or cardboard to raise either the paper or the photo to give shadows and interest.
  •  I embossed one circle. I layered the chipboard, some flowers as well as some metal cogs. I then added more gold splatters. 


Thank you for looking and why not hop over to Denise Boddey design to look at her amazing papers and chipboards. 

Until next time, happy crafting. 
Tina

Thanks Tina and Happy Anniversary
To check out more of Tina's pages here is another link to her instagram.