June 19, 2022

Fuzzy Wuzzy Layered card

Today we welcome back Theresa with her layered beauty


For this card I have used the A4 layered image designed by Denise Boddey

And I have used some coloured flock attached with glue on several coloured areas on the images


Once the flock was dried I have attached the layers together using mounting tape which gives the card dimension but is still soft and light enough to allow secure postage


On the side of the flocked image I have sprayed a Denise Boddey chipboard strip and highlighted it with coloured waxes


Attached some pretty lace under the chipboard then added a nice post of flowers at the bottom


Finished off with a bow, some half back pearls and an inked up chipboard word


Hope this project inspires you to drag out the old stuff in our collections and use it with the new papers from Denise Boddey Designs Theresa Kamp


June 12, 2022

 Hello everyone,

Leanne here with you today

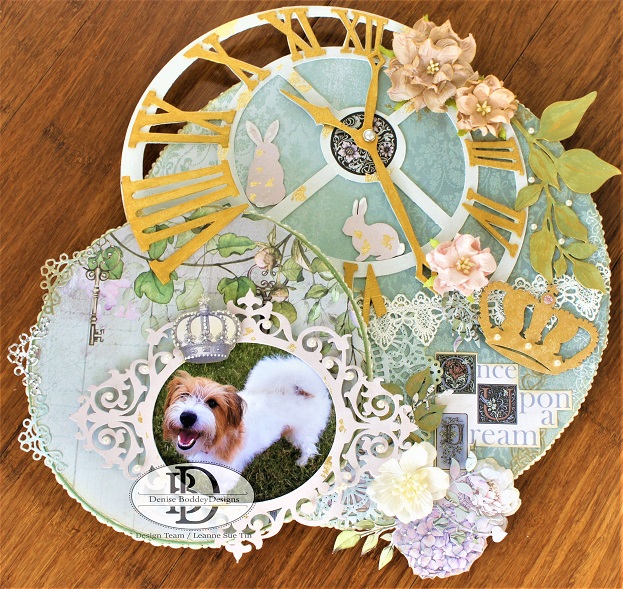
I have created an altered project using papers from 
the latest patterned paper collection 
called: Daydream Story Book


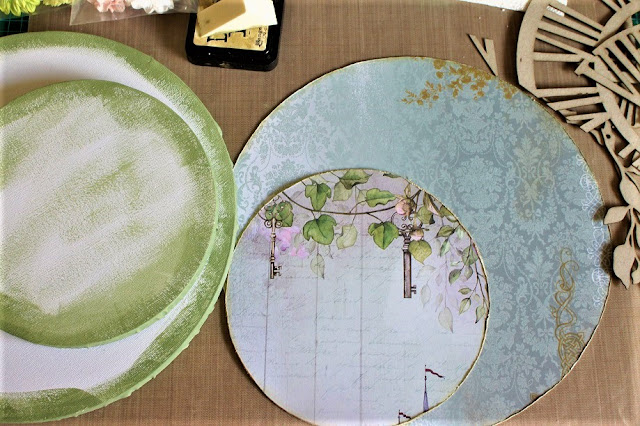
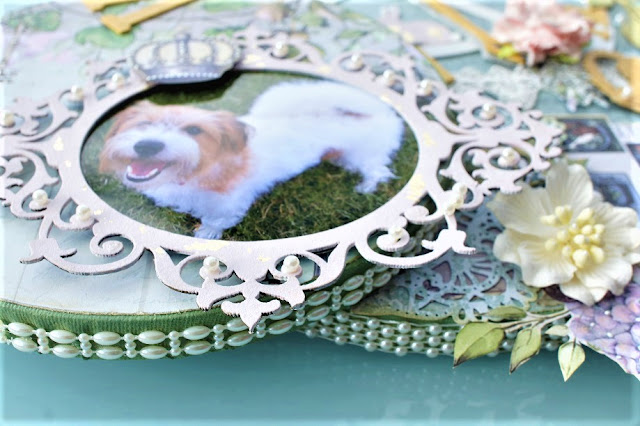
First I painted around the edges of the canvas with acrylic paint.
I then cut out two circle shapes, paper distressed the edges,
then ink the edges with distress ink.
 

All of the chipboard pieces have been painted,
using acrylic paints.


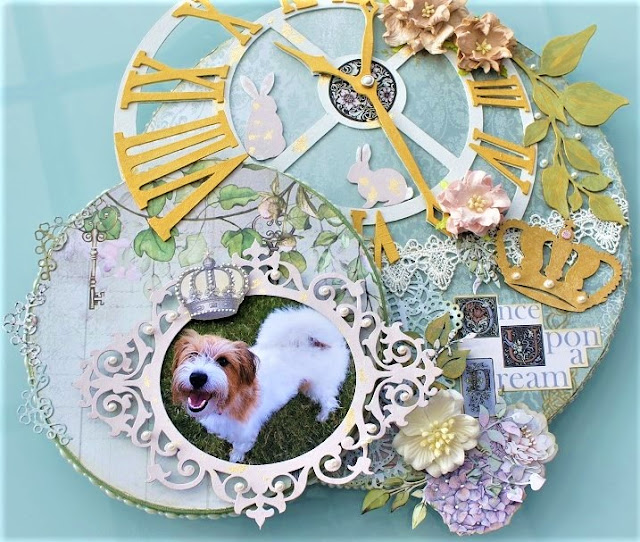
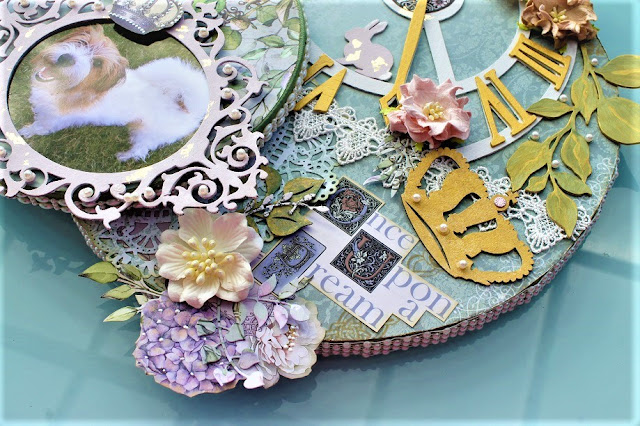
Building up the layers.


Some paper die and fussy cutting.


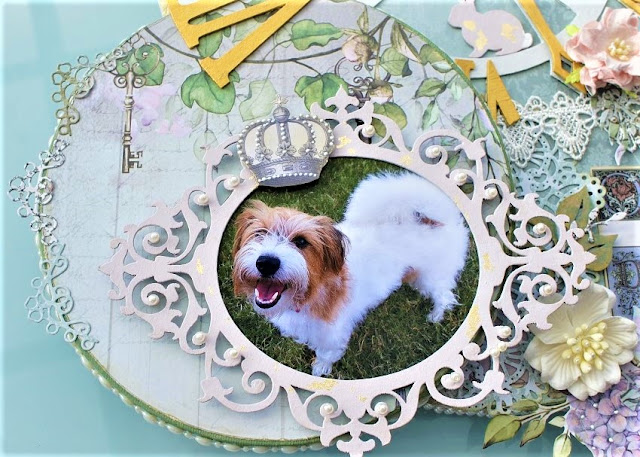
Adding lots of embellishments.


Adding bead trims to the edges.


Stop by Denise Boddey Design Store
for this beautiful paper collection
and chipboard used to create this project.

Have fun creating,
Leanne

June 5, 2022

One Sheet Wonder Album

 Good Morning 

We have certainly started winter with a wet week here in Adelaide hope you all are well and dry. On this post today we welcome back Julie with a gorgeous project today

Good morning

Today I want to share a great little one sheet wonder using 


  • Cut your sheet into 2 pieces 6" x 12"

  • Score each piece at 5" and 10"
  • Use a corner rounder on the two corners of the 2" section

  • Use double side tape or glue to attach one of the 2" sections 
  • to the outside front of the second piece applying tape/glue to two sides and the bottom.
  • It is easy to see this process in the video which is below

  • I used my Crop-O-Dial to add an eyelet to the 2" section on the right hand end of the folder.

  • I threaded ribbon through the eyelet and wrapped it around the album
  •  a couple of times and tied a bow.


  • made an assortment of embellishments for this album

  • I used 
  • Craft Barn Primrose Die
  • We R Memory Keepers Envelope Punch Board
  • Martha Stewart Score Board
  • Die-namics Just the Ticket die
  • Finniss Dies - Invitation 1 die
  • Denise Boddey Chipboard Arch

You can see how I used all of these things to decorate my album in my video


This is a fun, easy project and I hope you will try it out.

Thank you for spending part of your day here with me today

Until next time
Stay safe
Hugs
Julie


May 22, 2022

Moment in Time by Tina

Happy Sunday everyone hope you all are well and maybe grabbing some crafting time. Today we welcome back Tina to the blog with her specially beautiful layout.


Welcome to my share today for Denise Boddey designs. 

I started with nature's romance paper from the le Jardine Romantique collection.  I added some gold leaves by using a stencil. 

I then grabbed the fern chip board, moment In time total and the oval  frame. I used embossing powders and Finnaber waxes to create colour. 

I then fussy cut out flowers from Nature Romance , Enchanted Florals and Glory pattern paper which is from the Elegance collections. I layered all the elements up. 


Added a Charms creation, flair cheese cloth, flowers and some gold pills. 


I hope this inspires you to grab some fabulous chipboard and papers from Densise Boddey designs and get creating!  

Thank you Tina for creating and sharing your moment in time layout


May 16, 2022

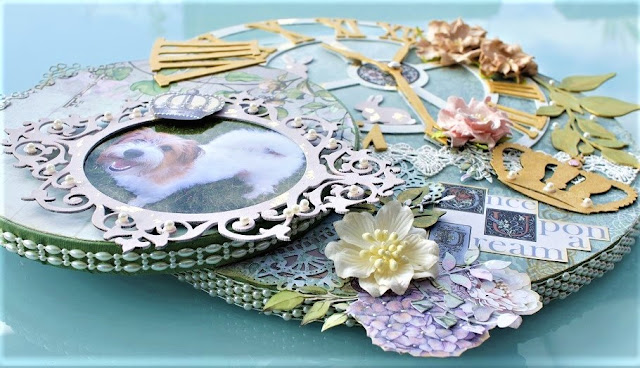
Once Upon a Time

We are a little late with this Sunday's post sometimes life just slows you down, but this little charmer is worth the wait. Theresa has created an awesome clock to share with us today/tonight, welcome back


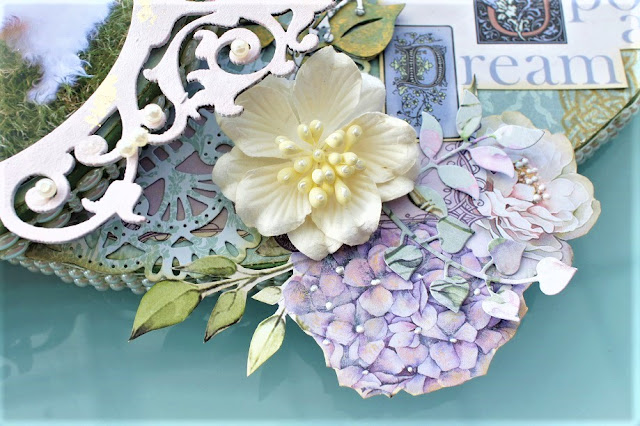
I have created an altered clock time piece on a wooden placemat I picked up on sale


I Have used the wonky clock face chipboard, the word title chipboards


and a selection of papers from the Day Dream Story Book collection


First up I glued a piece of the Dreams paper to the wooden placemat


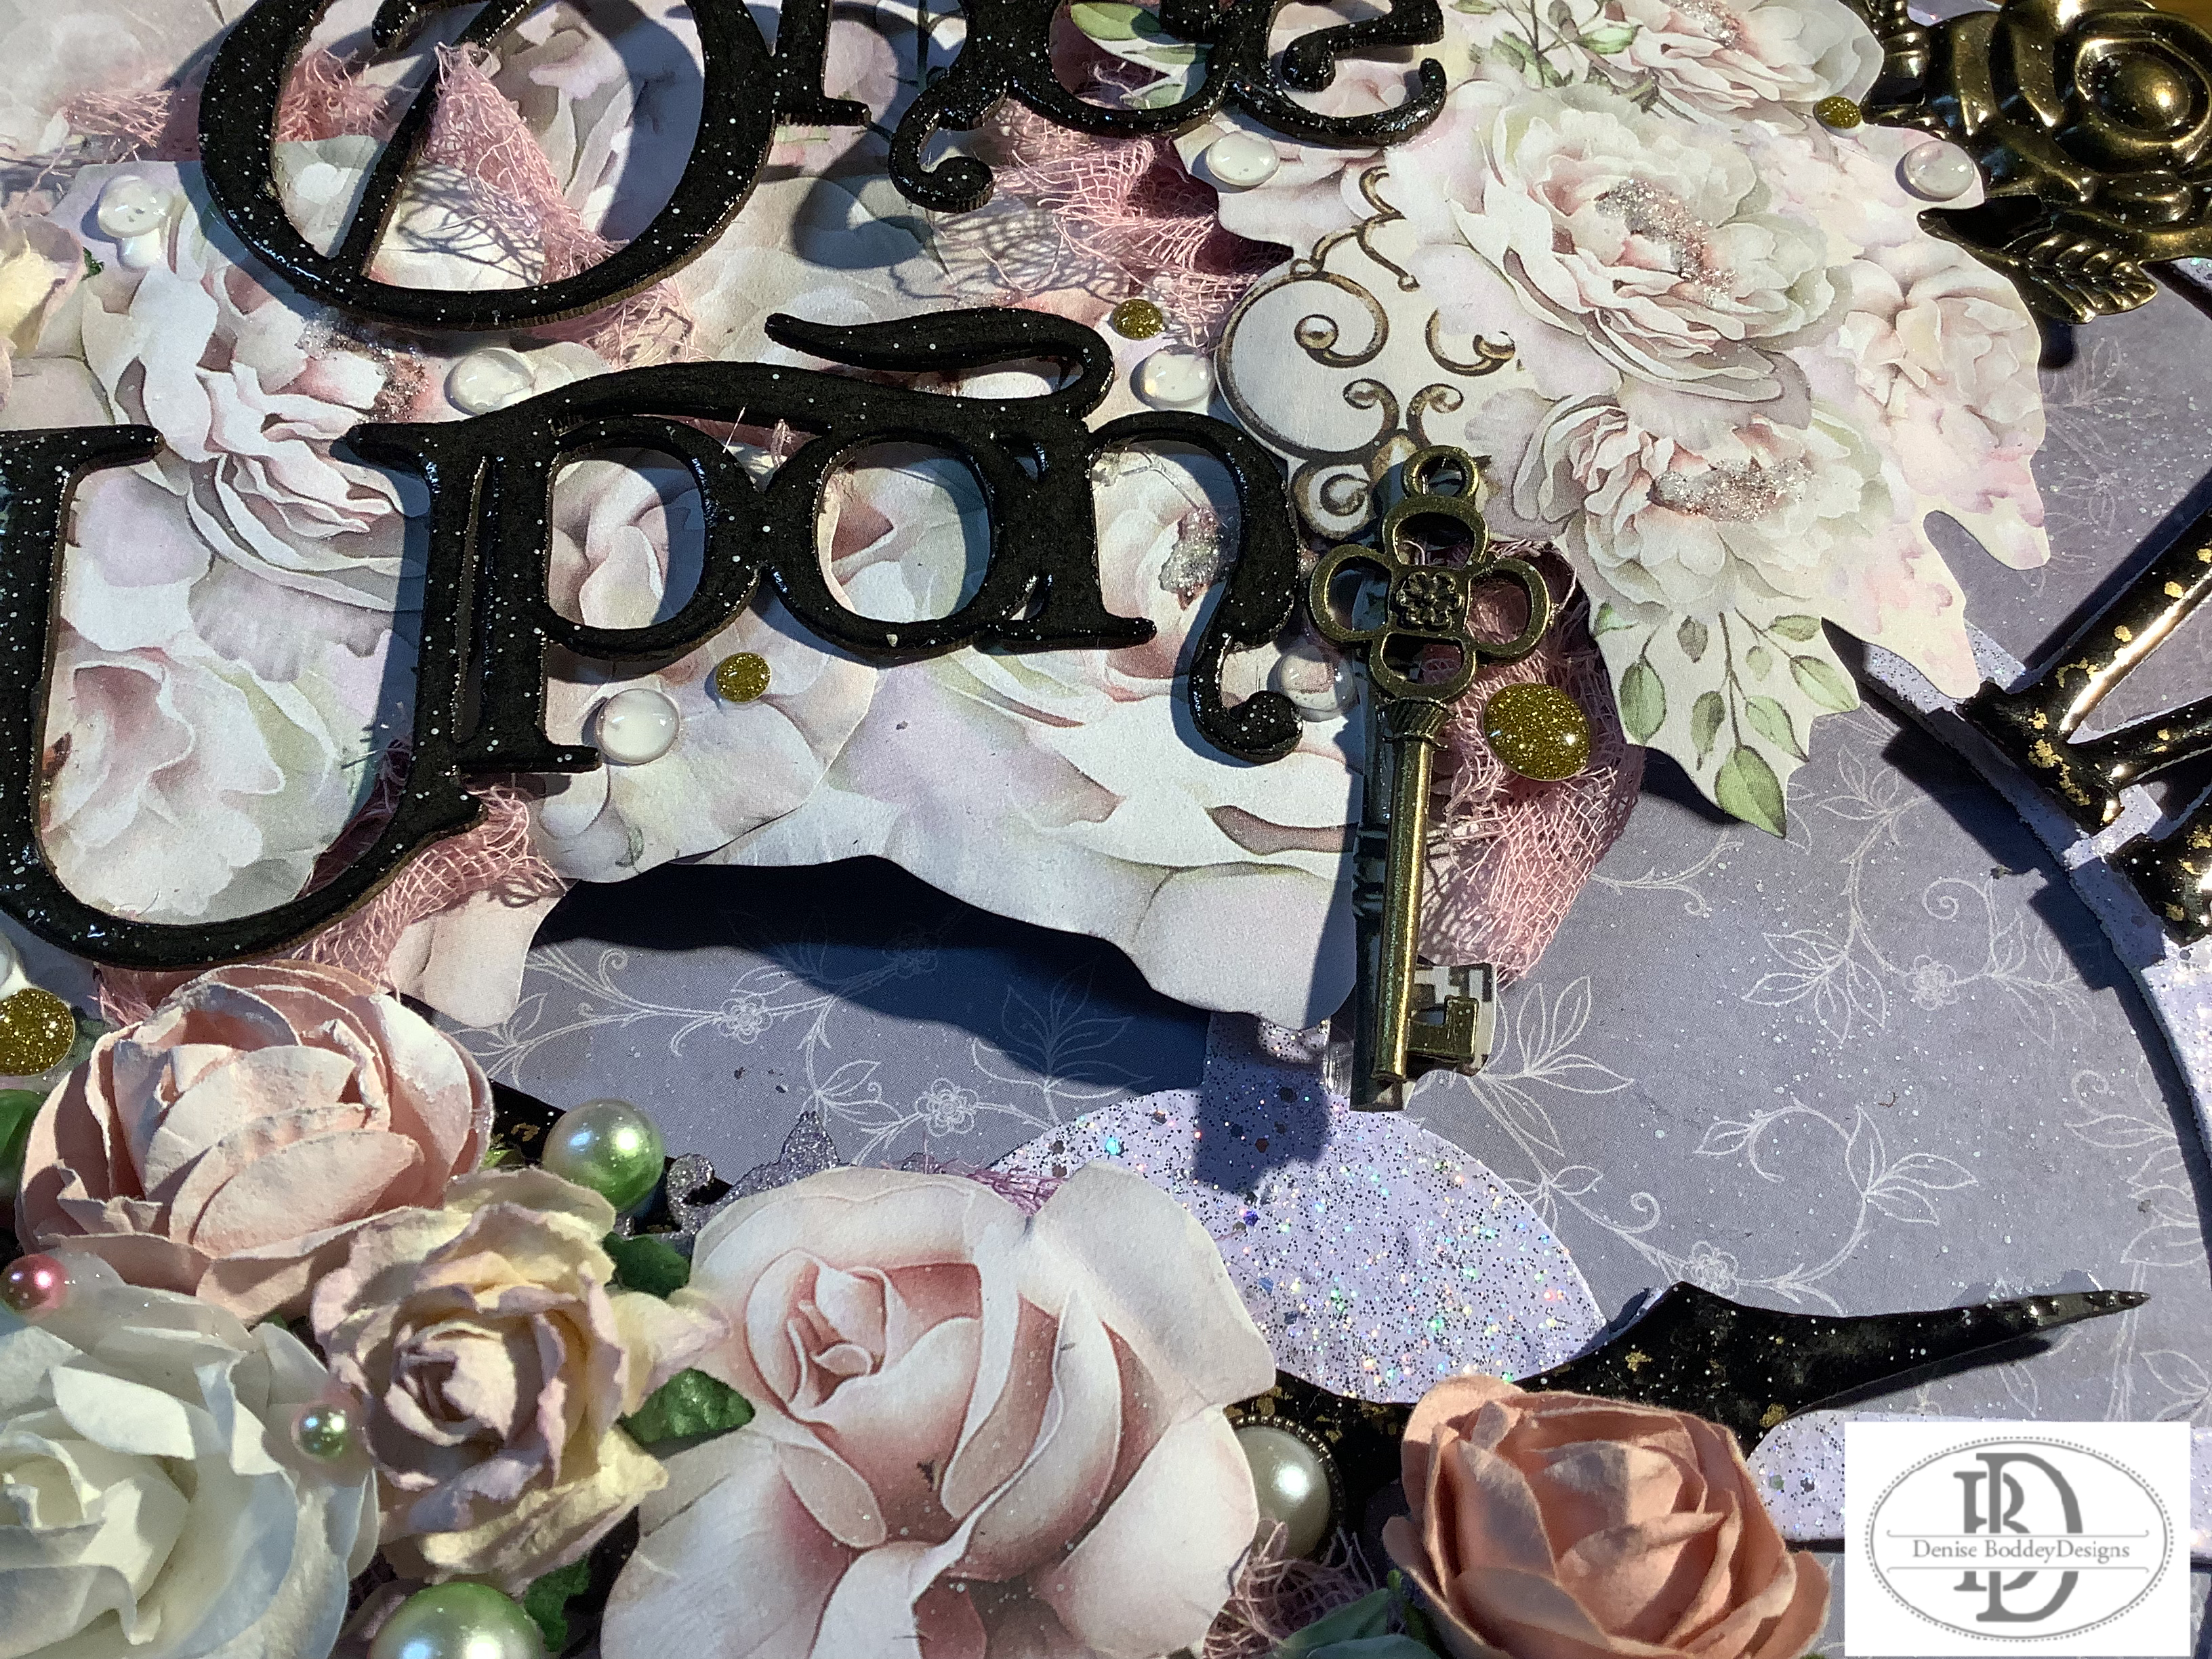
Inked up the word title pieces in black ink and then coated them in glossy accents

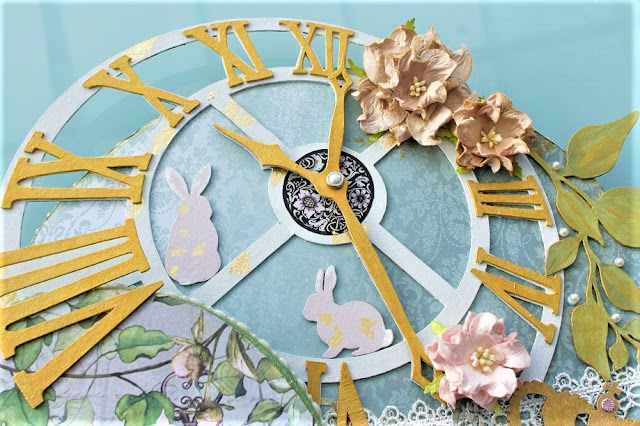
I have then gone onto emboss the wonky clock face in a sparkly mauve embossing powder


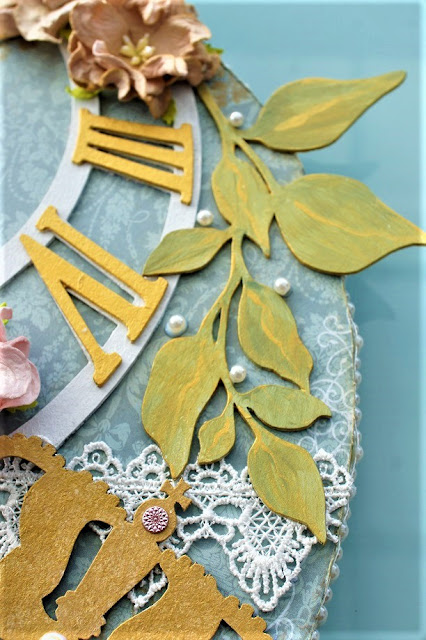
I have also embossed the clock numbers and the clock hands in a chunky embossing powder which I then attached using mounting tape to give dimension


I have fussy cut out several flower clusters from the other papers from the collection and I have dry embossed the back of the flowers with a stylus to add depth and character to the flowers before I placed them on my clock


I have then started attaching the cut out flower clusters, embossed chipboard pieces and some matching flowers to the clock face.


I have added pieces of gauze around the flower clusters also some mermaid bubbles, metallic embellishments and enamel dots


Finished off with some white paint splatters and this magical pieces is completed

Creating is good for the soul.

Thankyou Theresa