January 1, 2022


Happy New Year and Welcome
Let’s start the New Year 
By Welcoming 2022
With our new Design Team Ladies

 How blessed we are to have such talented ladies joining us this year. 

We have lots of things planned for this year commencing firstly with the introduction of our talented ladies feeling very excited and looking forward to us all working together

Firstly myself


I am a married, part time working mother and nana. My love of craft has become a natural a part of our lives. With the support of my tolerant and encouraging husband and patient family I have been given the freedom to experiment and learn. Over the years I have experimented with various craft mediums from, china/acrylic painting, hand and machine embroidery, sewing, beading, decoupage, ceramics, and paper tole. My journey began with the love of Scrapbooking I then ventured towards card making and off the page. 

I find myself interpreting my previous crafts styles, techniques and mediums into my designs to achieve a unique result Because of, a love of pastel colours, my style leans towards an Antique romantic, floral, and would like to think elegant with a simple effective edge and possibly a lot of shabby chic.

I have taught scrapbooking and card making and multi-media for many years and at a variety of shops here in Adelaide and interstate. 

My next step, brought me to study for a diploma in Graphic Design, which then led me to start my own business here I have found the freedom to play and evolve.

Together with my Husband Alex and my Family Jennifer, Luke, Jake, Kylie, Connor, Eden and Bonnie who offer support and input us as a family business are moving forward on a steady path. I have not looked back on this journey only step by step towards what is next?  


Welcome Tina Steinborner 


Hi. My name is Tina Steinborner. I live in the beautiful area of Robe in the limestone coast of South Australia. I have been scrap booking for 6 years now. I love using a variety of products. I have guest designed for the Stamp spot and Charms Creations. I love mixed media.  I enter many challenges and in fact have many. I believe this keeps you growing as a scrapbooker.

 My facebook page is https://www.https://www.facebook.com/search/top?q=papertin%20scrappingfacebook.com/Papertin-Scrapping-100572621850803 


Welcome Julie Kairi      
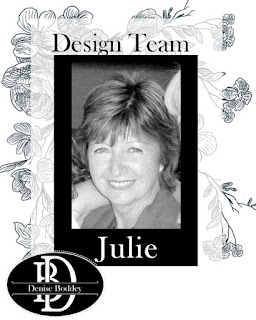

Hi my name is Julie Kairl (Julies Papercraft) and I have been a paper crafter for about 20 years.

I live in Adelaide with Ray, my husband of nearly 50 years. I have one daughter and one grand-daughter, who invariable find themselves featured in my projects.

I love making scrapbook pages, cards, mini albums and art journal pages. I am retired so I get to spend part of each day in my craft room doing the craft I love.

Trying new techniques in one of my favorite things to do and I spend way too much time viewing YouTube clips to find new ways to use my crafty stash.

Because of this I think my “Style” constantly changes and each project's style is determined by the photo, product or technique I want to showcase. I have been lucky enough to be involved with several Design Teams and I am looking forward to this new adventure.

my links 

Blog:                 http://juliekairl.blogspot.com 

Facebook:        https://www.facebook.com/profile.php?id=100015018631903

YouTube:           https://www.youtube.com/channel/UCViqJuYgw60Aq93OJ4oeb6Q

Pinterest:             https://www.pinterest.com.au/juliek10/

Instagram:          https://www.instagram.com/juliespapercraft/ 


Welcome Leanne back


Hello my name is Leanne and I live in Queensland.

One of my passions is creating. I am drawn to anything vintage, shabby chic, feminine, romantic and grunge. I particularly love mixed media, card making, scrapbooking and off the page projects. I have also started exploring Art & junk journaling.
The arts & craft world is forever evolving with new ideas, techniques and products. For a crafter, that is exciting.  I look forward to sharing some inspiration using Denise Boddey Design products.


My blog: https://letscreatethelittlethings.blogspot.com/


Welcome Theresa


A little bit about myself I am a craft addict I admit I have my own over stocked craft room and also a sewing room with my adventure in the craft world starting way back when I was 7 and my grandmother taught me how to embroider a Dooley, moving onto sewing my own Barbie clothes, latch-work, then came along the wonderful world of paper, oh my, origami, tea bag folding, quilling, stamping, scrapbooking, paper tole you name it I have tried it.

My go to passions for the last 15 plus years have been scrapping and card making with a lot of off the page multi medium work sneaking in lately

I have a marvelous husband who supports my crafting passion and 2 beautiful grand daughters who think their Nanny’s creations are amazing.

https://pin.it/Eu9Ekow 

https://kampscraftycreations.blogspot.com/ 

https://www.instagram.com/p/CGpL3a3AojefOSCSsTFD0XVMXzI-BR68fWNXAI0/?utm_medium=copy_link 

https://www.facebook.com/theresa.kamp.7


 Welcoming Trish


My name is Trish Rheinberger,

My name is Trish Rheinberger, I live in Coffs Harbour, having just moved. I am retired and have my Smokey boy cat for company.
I have been crafting in one way or another for about 30 years. I LOVE pretty papers and sometimes don’t want to cut into them, but just admire the view.
I am a bit of a romantic I am drawn to chipboard dressed in many different ways, also very partial to flowers and lace.
It will be exciting to get to know everyone in this special group and watch all the pretty items we will all create.

Cheers Trish 

My Blog https://mydailydoseblogspotcom.blogspot.com/


A very big welcome to all cant wait to get started our very first post will be the 23rd of January I will kick start our weekly post every Sunday morning

until then why not click on our ladies links and check out their already made projects 

Stay Safe Everyone

Denise Boddey


May 29, 2021

Unsaid things about Inks

Basic knowledge

I posted this tutorial in 2010 I have done an updated version tonight after a question in class today. Things everyone thinks you should know and takes for granted, but forgets to tell anyone when starting. Then you are afraid to ask for the fear of seeming dumb.
So I have put together a little explanation to try and help, of course there are variations out there which will contradict, and new products constantly coming available changing the way we are creating and forming different techniques thus effecting what ink we will need. This is a simple guide to help you make the right choice with the inks you choose to use,
basically what surface and technique determines what ink. Does your ink have one or more of the following in it Water based, Oil Based or Solvent Based, these characteristics are important key factors to achieving the end result you are aiming for in your project. I however have not even touched on all the other tools and mediums that can be used with your inks but they too have a basic rule, water, oil or Solvent/Alcohol. This is only a basic guide as there now are many different brands which have been developed by many different companies. Speaking from experience always be careful of what you clean your polymer and rubber stamps with always a clean cloth with no oils and solvents in it. I do not recommend using tissues or baby wipes because they can contain oil (Aloe-Vera) great for our skin but not for our stamps, there are special cleaners for special inks and stamps. Avoid using stazz-on cleaner on your polymer stamps as well as Staz-on ink.  Always make sure you clean your stamps going from memento ink to Staz-on this can cause cross contamination of inks ruining an ink pad, and always clean your stamps before stamping with a different colour ink. 

Hope this helps you happy crafting.


Pigment ink
Pigment ink is a slow drying ink commonly used for wet embossing, is acid free and fade resistant. Pigment ink can be used without embossing as long it is given adequate time to dry, can be improved using a heat gun to set the ink

Versafine (Tsukineko Brand) Is a quick drying natural oil-based opaque pigment ink dries very quickly on matte cardstock, providing incredibly fine detail. You are able to watercolour markers over the stamped images and it won't bleed. Recommended ink to use with your clear polymer stamps.


Chalk inks Versamagic (Tsukineko Brand)
Chalk inks are a water based  
opaque pigment ink that dries quickly into a delicate chalky finish, giving a rich saturated opaque result. Chalk ink cannot be wet embossed. It is acid free is resistant to smearing, bleeding and fading. Works well on dark card stock for a strong result as well on glossy surfaces.


Dye ink
Dye ink pads are a water based quick drying, acid free ink which will
absorb into the paper. Can be permanent and sometimes waterproof if indicated on label of the pad. The ink may run if it gets wet with water this is used as a technique for texture and opacity. Dye ink cannot be embossed unless you add a clear embossing ink to it. Dye ink is used for distressing with distressing blocks also combined with blender pens or aqua painters is great for colouring instead of markers.

Archival Dye Ink (Ranger Brand) Archival ink is a fade resistant, waterproof, nontoxic and acid-free, ink. Providing a long-lasting crisp image. It will not bleed when using water based markers, blenders, pigments or coloured pencils, heat setting with a heat gun is recommended to ensure permanency when stamped on glossy surfaces

Memento is a fade resistant Dye Ink that is the preferred ink to use with your Copic/Alcohol Markers. When dry your stamp image will not smear with the use of Alcohol markers when are applied over them


Distress Oxide® Ink

It is a water-reactive dye & pigment ink fusion that creates an oxidized effect when sprayed with water. The ink is thick and opaque dries very slowly sometimes never on a gloss service. The ink is not permanent and will continue to react whenever it comes into contact with water it is not water-resistant


Stazz on ink
Stazz on ink is a solvent based ink that can be stamped on most surfaces the result is a permanent waterproof stamped image. Use on outlined stamped images if using aqua painter or blender pens, cannot be embossed or distressed as the ink will dry on the stamp if not used immediately. To remove ink from the stamps a special cleaner needs to be used


May 18, 2021

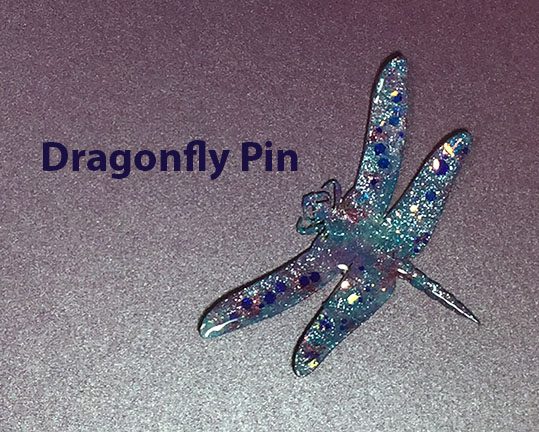
Dragon Fly pin

 today is Janet's turn on the Blog

This image has an empty alt attribute; its file name is dragonflypintitle.jpg

Follow along as I make this adorable Dragonfly Pin using a chipboard design piece from Denise Boddey Designs. This post is created as a part of the design team and some materials have been provided to use in this post. You can make your pin in different colors if you wish. Make one match a special outfit or for a special occasion. The Dragonfly Pin would also make a great gift or an embellishment for a card or mixed media project.

This image has an empty alt attribute; its file name is whitepaint.jpg

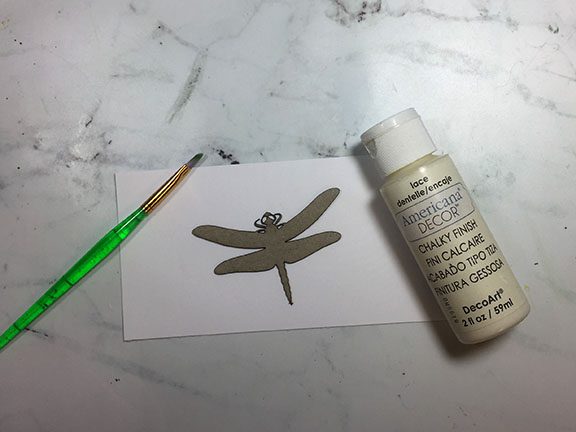
white paint

Since the chipboard is dark, I used white chalk paint to coat the dragonfly. I found it needed two coats to fully cover the piece. Now the colors will show up better.

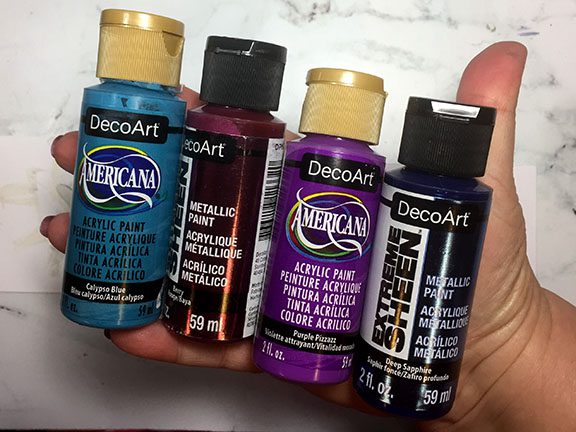
paint colors

This image has an empty alt attribute; its file name is paints.jpg


May 17, 2021

Layered Elegant page

 Hello everyone, I'm back with another project using the latest release products from Denise Boddey. Have you checked the new release ? If not, please follow the link below latest collection.

How to:

  • I painted my chipboard with white acrylic paint or you can use gesso too.
  • Then I arranged the painted chipboard around the photos using glue
  • Fussy cut the Elegance Collection box packs and layered them one above the other
Materials Used:


May 16, 2021

Elegant Layout

  The Elegance Collection


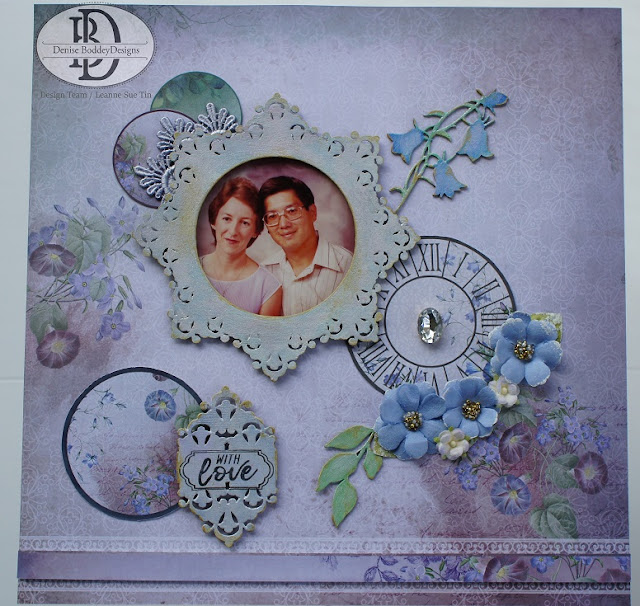
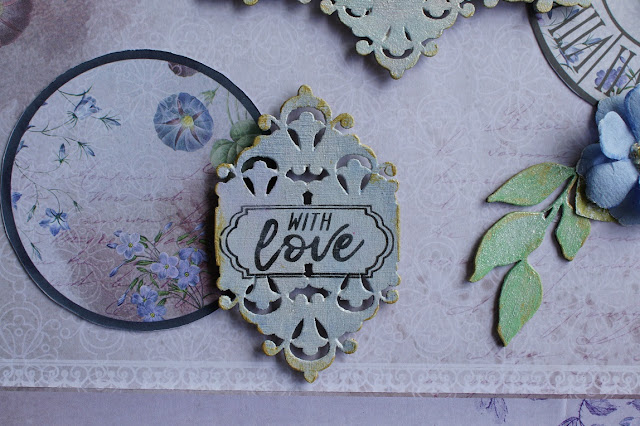
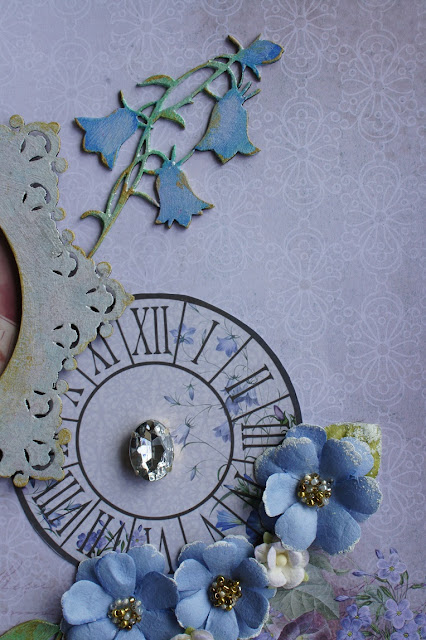
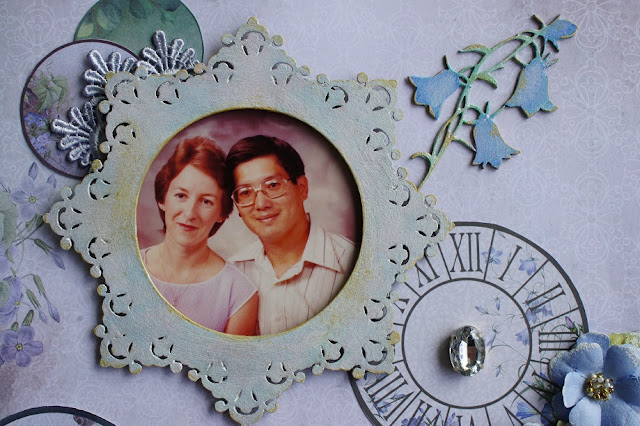
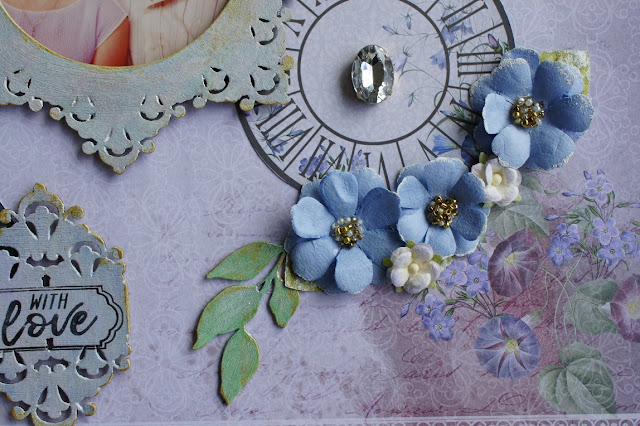
Hello everyone, Leanne here with you today and I have a design team post to share using the latest collection of patterned papers and chipboard called Elegance.


I have embellished my layout with hand dyed lace trim, paper flowers and a large rhinestone.


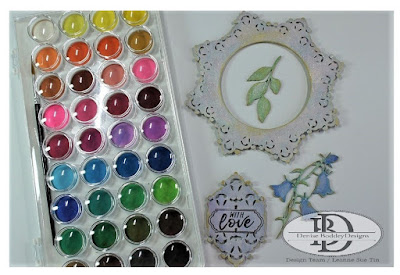
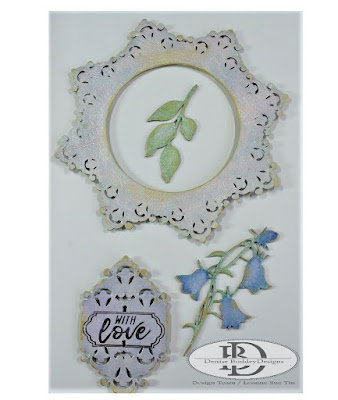
To decorate the chipboard I have used water colour paints, iridescent medium and gold metallic wax.
I have also stamped a sentiment in the center of one of the chipboard pieces.  

I have used the following products:
Chipboard: 
                   Blue Bells
                   Botanicals 
                   Elegance doily

Elegance patterned paper: 
                                           Chic
                                           Grace
Thank you for looking,
Leanne

April 16, 2021

Design team

 I have been a little behind of late so today I will share some of the two posts from our design team members

Ashley

Hi friends! Ashley here today sharing a scrapbookg page of my nephew! I used some new patterned papers from Denise Boddey Designs.

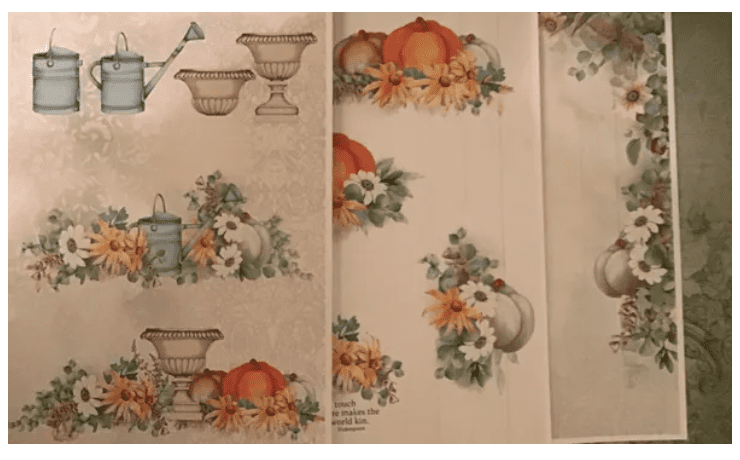
I love the watercolor background look of the After the Rain patterned paper. So pretty! I applied gesso + Shimmerz to create my own mixed media design as a mat for my photos. I wanted it to blend and coordinate with the pattern paper background. I used the Chic patterned paper to mat my photos. After that was dry, I grabbed the mini brick stencil from TCW to add some more interest behind my photos. I mixed Shimmerz Keep Palm with some opaque texture paste from Ranger. Then I just added some embellishments from my stash!

This page is going in my nephew's album. Thanks for looking!


Janet


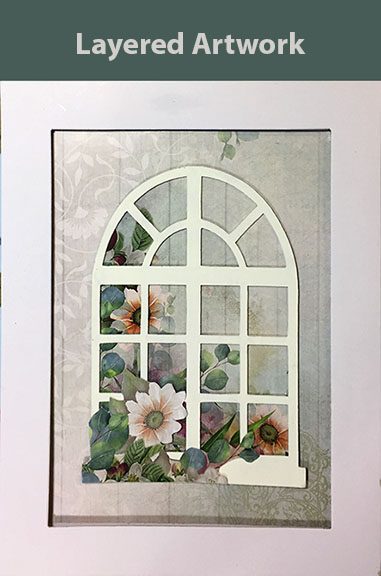
Today I am posting as a part of the Denise Boddey Design Team. I am working with cut chipboard and a card topper. Painting and layering the elements make for a beautiful work of art. Framing mine, I used a frame from the dollar store that I did a patina finish on to coordinate the colors.

Materials:

  • Card topper (In my Garden Patch)
  • Chipboard (Arch Window)
  • detail scissors
  • Americana Chalk Finish (lace)
  • tape runner
  • glue
  • picture frame
  • Metal Effects patina kit
  • foam brush


Follow along with the video tutorial:

video link: https://youtu.be/84NNI8rvbow

thanks girls for your great projects

and thanks for visiting