March 20, 2021

Delightful album


Ramya has a album and has used our chipboard in it

Hi everyone ! It's Ramya here today and I'm happy to share this mixed media album 

How to:
  • I painted my chipboard with white acrylic paint or you can use gesso too.
  • Then I arranged the painted chipboard around the photos using glue
  • I placed my stickers one above the other around the photos
Materials Used:

March 10, 2021

Bright and Cheery Album cover


Hello friends! It’s Aya once again and for another project using Denise chipboard designs
 I do not make albums that much, but since my husband gifted me a photo album, I decided to fill it with our photos. 

Here are some photos of the album cover


To cover the album, I used stencil and modeling paste. Next, I added grass and paper flowers. Finally, I added the chipboard designs in front and back.

I hope you got inspired to try making this into a shaker card using chipboard


February 27, 2021

Dancing Shoes

 Hello everyone,

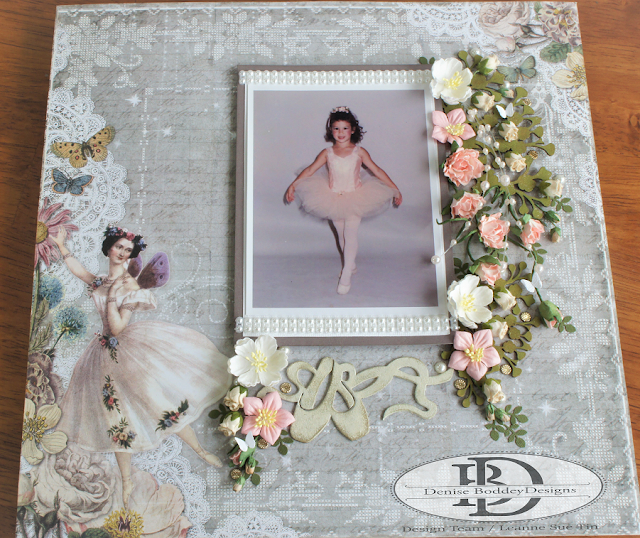
Today we have Leanne sharing with you her lovely layout she has created .


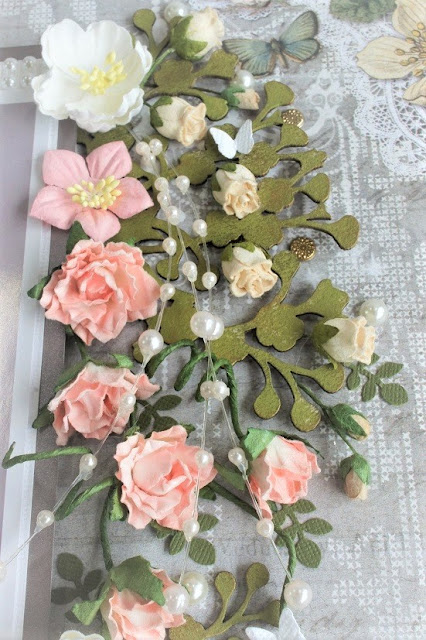
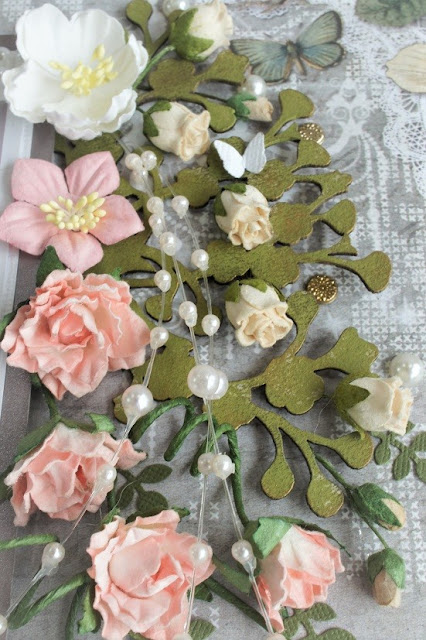
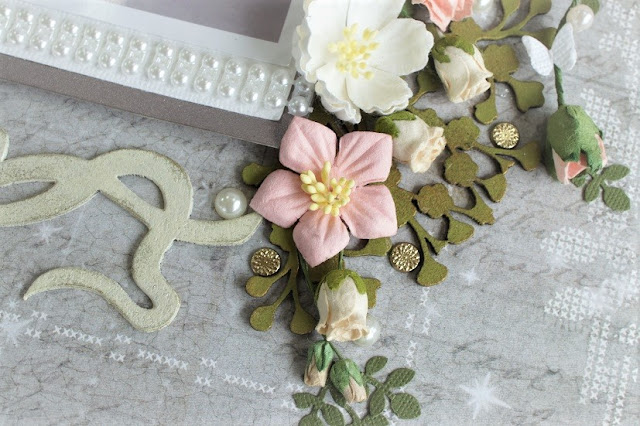
My layout has lots of different embellishments from paper flowers, pearl trim & self-adhesive pearls, gold jewels and punched out tiny butterflies and leaves.

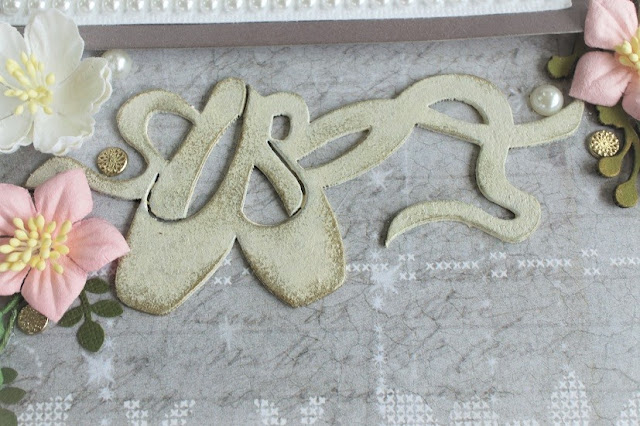
Chipboard pieces used are: Ballet shoes
                                                Baby tears foliage


All of the chipboard pieces have been painted using an acrylic paint. Each piece was then finished with some metallic wax that was added to highlight the edges of the painted chipboard.


Thank you for looking.
Leanne

January 23, 2021

In Loving Memory

 Hello everyone & welcome!

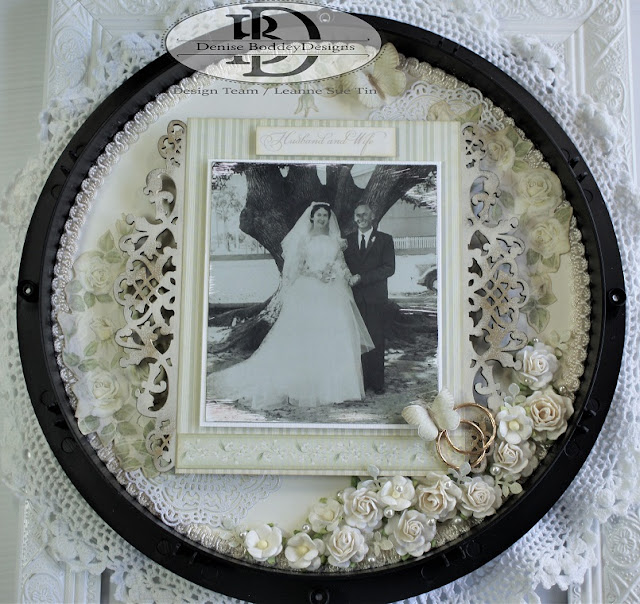
My first design team post for Denise Boddey designs for 2021 is dedicated to my dear dad who sadly passed away in December 2020. 

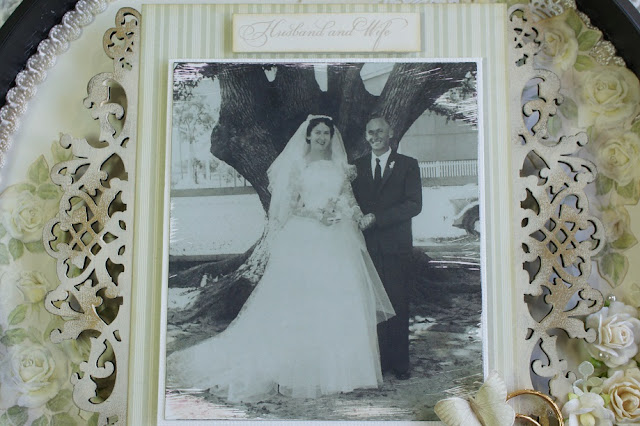
This gorgeous photo is of my mum and dad on their wedding day.


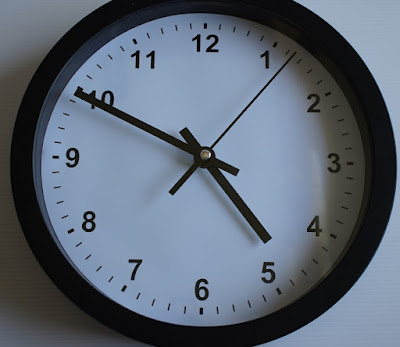
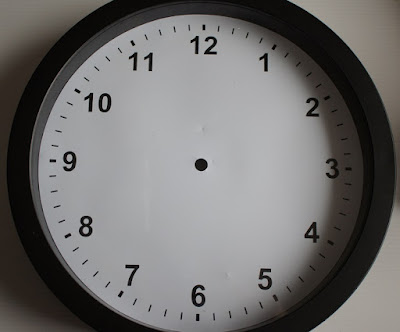
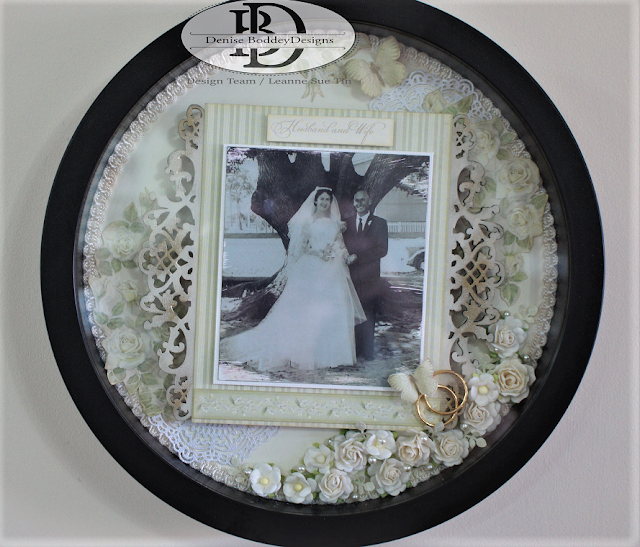
My project's frame is from an old clock. Rather then throwing it away I decided to use it as a shadow box. I love to reuse and repurpose items when I can. 


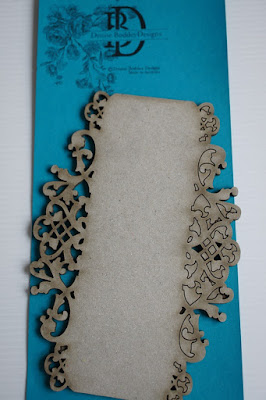
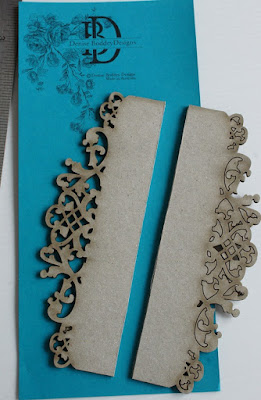
The chipboard piece I chose is called Vienna Flourish Rectangle.
I love this piece as it has the perfect vintage flair.  


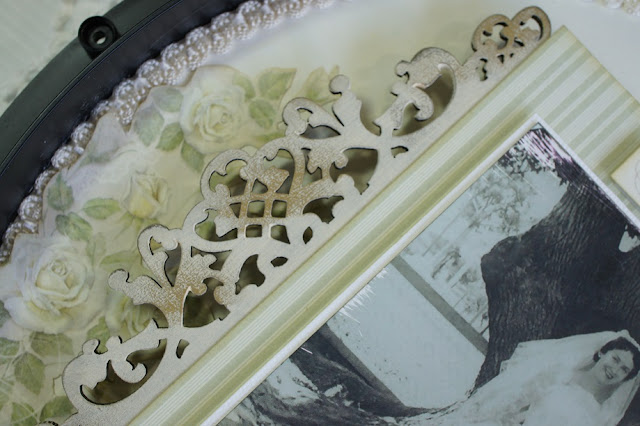
To create the desired effect I first had to cut the chipboard piece in half. This allowed me to frame my photo. I then used Antique white acrylic paint to paint each piece. When dry I added some metallic wax to highlight some areas.


Patterned papers and photo were then added to the chipboard pieces.


Next I cut a circle to fit inside the frame - patterned papers are from the Pion design range called Vintage Wedding. Just so perfect!!! 
I then set about fussy cutting out some of the rose designs and arranged them in place before adhering each piece to the circle shape.


Layers of 3D foam tape were added to the whole photo piece before adhering in place as shown.
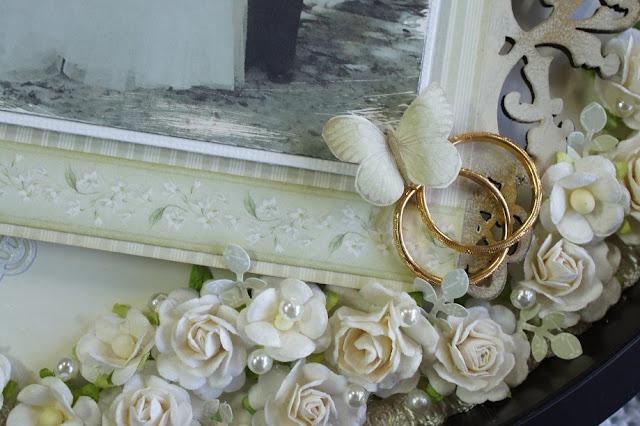
To finish I have fixed in place some paper roses, pearls, gold wedding bands and fussy cut butterflies.


Here is the completed project, now with the glass insert and outer black frame. JUST PERFECT!

Leanne


January 3, 2021

Faux Stained Glass

Happy New Year

Today we are going to share a project Janet made last year

 Making Faux Stained Glass 

Looking at these Sprouts Panels from Denise Boddey Designs, I thought they would work well sandwiched together. Then I needed to decide what to put between them. Could I make faux stained glass with alcohol ink? Why not give it a try!


Materials:

  • Sprouts Panels
  • white acrylic paint
  • paintbrush
  • laminate and laminator
  • alcohol ink
  • dust cleaner
  • adhesive
  • twine
  • scissors
  • knife blade
  • Kamar Varnish
  • Clear Glaze


Here is a close-up of the finished project. I love how the colors blend together and show through the chipboard piece. Because the chipboard is laser cut, they align perfectly.

The whole finished piece with light shining through. I can't wait to hang this in a window. I think it turned out so nice.

Try it - Like it - Create it