August 28, 2022

Good Morning hope this post finds you well. 

Julie is dropping by with another awesome project and a you tube tutorial


 Hi there

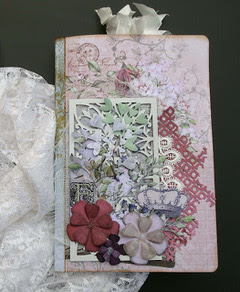
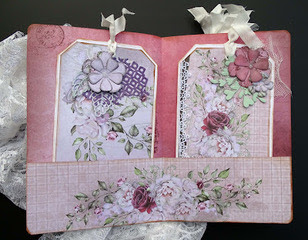
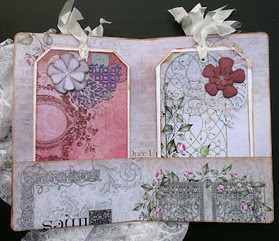
Today I am sharing a flip out page I created for my Grand-daughters 2022 album.

I am using a Uniquely Creative 8" x 10" ring bound album for this.

All of the papers I am using in this album are from Denise Boddey Designs.

The papers are double sided and a nice solid weight.

The three ranges I am using are 

Day Dream Story Book

Elegance Collection

Le Jardine Romantique


To create the flip out page I cut two pieces of 300gsm white cardstock to 7" x 9 1/2"

I scored folded one of these at 1/2" on the 7" edge.

Using liquid glue I attached the folded edge to the right hand edge of the unfolded piece, 
being sure to line the edges up.

Next I trimmed another 1/2" off of the narrower page to be sure it cleared the rings in the binder.

I cut patterned papers to cover the three top areas of the pages.

All of the papers on this page have been distressed and inked.

To create a pocket on the back of the page I used an off cut that covered the top area of the page and another off cut that was 4" high to make the pocket.
These papers received the same treatment as all of the others.

To decorate the front of the pocket I used fussy cut items from the papers and some gauze/cheese cloth.
The fussy cut items are mounted on foam squares to add extra dimension.

Using my envelope punch board and a 9 1/2" square of 
I created an envelope to go into the pocket.


I have a process video for you. At the end of the video I show you
the pages I have created so for for this album.
I hope you enjoy watching it.

Till next time
Stay safe
Hugs
Julie


July 17, 2022

Mini Album


Good Morning 
Hope your Sunday is not too busy. 
Perfect day today to be inspired with winter showing us what it is all about. 
We will be staying in today and crafting for sure 
today we welcome Julie back with another inspirational album.

Hi there

Today's post is a mini album I created using Denise Boddey's
Day Dream Story Book paper range.

I have a video that I will add at the bottom of this post.


To create this album you need 4 sheets of 12" x 12" patterned paper.
The paper I have used is double sided.
If you make this album you could add as many pages as you wish

The papers I used are DreamsDay DreamOur Story and Princess for a Day.

For each page:-
score at 6" with the paper right way up,
flip to the left and score at 9" (this will be at the bottom of the page)

Select the paper you want for the front cover,
use glue to attach the back outside panel of this paper to the front outside of the next panel.

Continue doing this until all pages are attached.
If you prefer you could only glue around the edges of each page and create pockets between each page.

I cut a piece of patterned paper 1" x 9" to create the spine cover.

Next I used my corner rounder on the top and bottom outside edges of each page.

Run a small bead of glue along the outside edges of the pocket on each page.
You could run glue along the center fold too if you prefer.

I used Vintage Photo Distress Ink and my distressing tool to ink around the edges 
of each page and pocket edges

I created eight tags to go into the pockets.

I used 300gsm white cardstock to create the tags, they measure 4 1/2" x 8 1/2".
The patterned paper has been cut to 4 1/4" x 8 1/4".
I inked the edges and attached the patterned paper to the front of the tag.

I added and eyelet to the top of each tag using my Crop O Dial and
added some white seam binding through the eyelet.


I created flowers using patterned paper and pale pink velum and my Couture Creations CO724161 die.

I cut some leaves using Honey Bee's Lovely Layers Heart Vine and Uniquely Creative Little Leaves dies

Using Uniquely Creative Island Texture die and the same papers/velum I cut some background fillers

Other embellishments I used were lace and gauze/cheese cloth and Ali Lattice chipboard panel

You will see the embellishing in the video.

I hope you try making this little album. 
It is easy to make, a good size and can be changed and embellished in so many ways.

Till next time
Stay safe
Hugs
Julie

July 10, 2022

What would you do

Hope everyone had a lovely weekend  Tina is back again this evening sharing another fantastic Scrapbooking page which she has created for us 

Welcome back Tina


Happy Sunday Everyone. Hope this day treated you well. For my share this evening I used a range of papers from the Le Jardin Romantique range, with Enchanted Florals as my base. This was the perfect collection to document my inclusion into this awesome design team. I mean who wouldn't love to play with the awesome papers and chipboard that Denise designs?  

 I started work with my chipboard first. I used Small florals and Dream total. I covered them with glue and then added gliding flakes.  I let the glue dry and then sanded away gentle with a scrubber the excess flakes. I love how this turned out! Its really effective.


 I  then fussy cut some flowers and punched a few out. I edged them all using distress ink. I also made some hand rolled flowers. These are so much fun to make and best of all they will match your project perfectly. 


I tore a piece of natures romance for across the top and rolled it. Since I had gliding flakes every where!!! I added some into my flowers, this then brought the gliding flakes more around the page which helps make the page more cohesive.

 I then layered all my elements around. 


I add some foam tape under some elements to give extra interest and shadows. I have also bent and twisted some elements to give extra texture .  


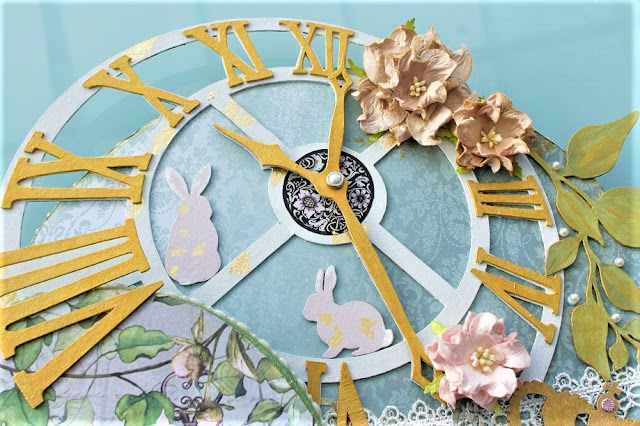
I added some prills in the middle of some flowers and a clock fussy cut from chic paper. 


I added some splatters and word strips as well  and some cheese cloth. Lastly I layered my cut down chipboard. I am really pleased with how this turned out. 

 I hope to see some of your creations with this fabulous paper range shared in our group  Facebook  DBD share and inspire group  

Thank you for sharing your scrapping time with me.


June 19, 2022

Fuzzy Wuzzy Layered card

Today we welcome back Theresa with her layered beauty


For this card I have used the A4 layered image designed by Denise Boddey

And I have used some coloured flock attached with glue on several coloured areas on the images


Once the flock was dried I have attached the layers together using mounting tape which gives the card dimension but is still soft and light enough to allow secure postage


On the side of the flocked image I have sprayed a Denise Boddey chipboard strip and highlighted it with coloured waxes


Attached some pretty lace under the chipboard then added a nice post of flowers at the bottom


Finished off with a bow, some half back pearls and an inked up chipboard word


Hope this project inspires you to drag out the old stuff in our collections and use it with the new papers from Denise Boddey Designs Theresa Kamp


June 12, 2022

 Hello everyone,

Leanne here with you today

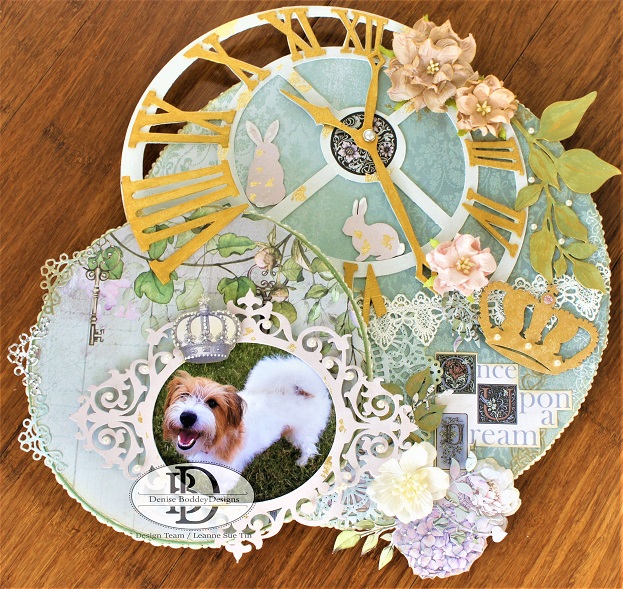
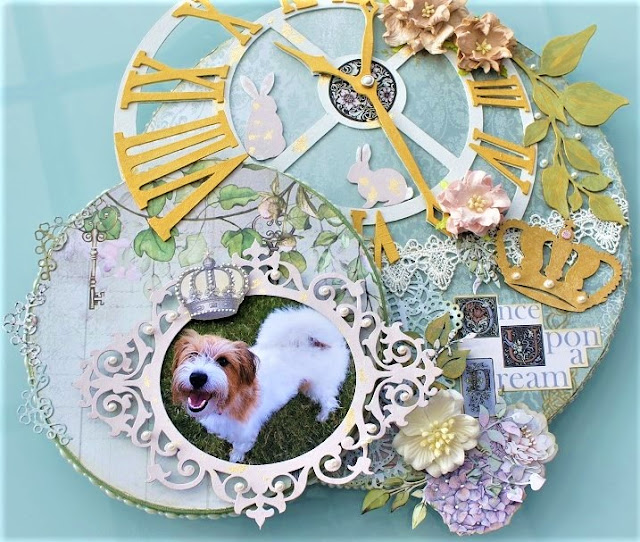
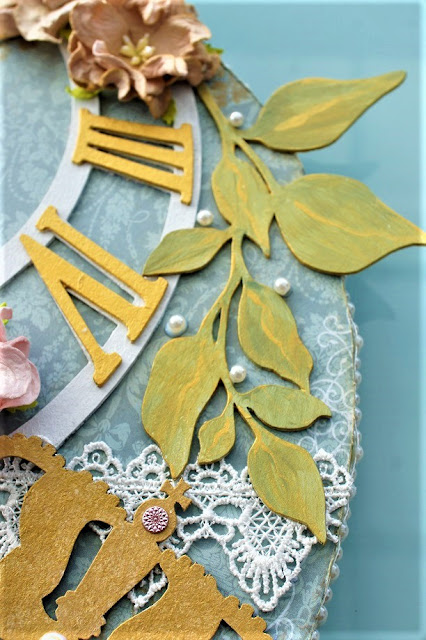
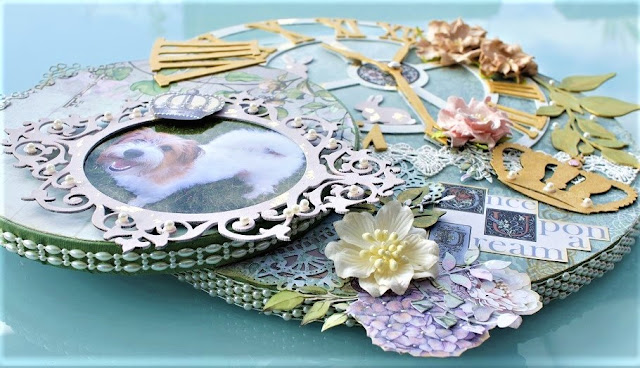
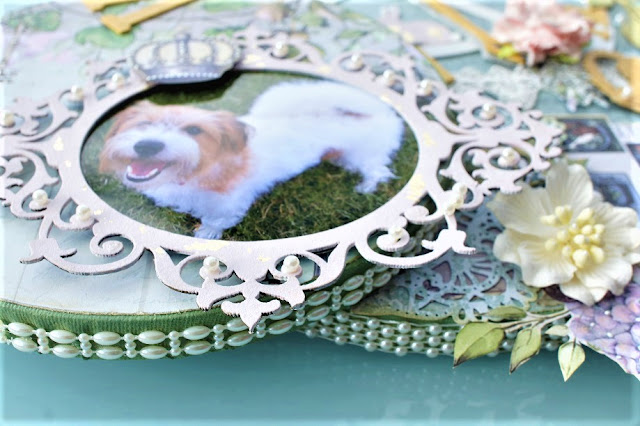
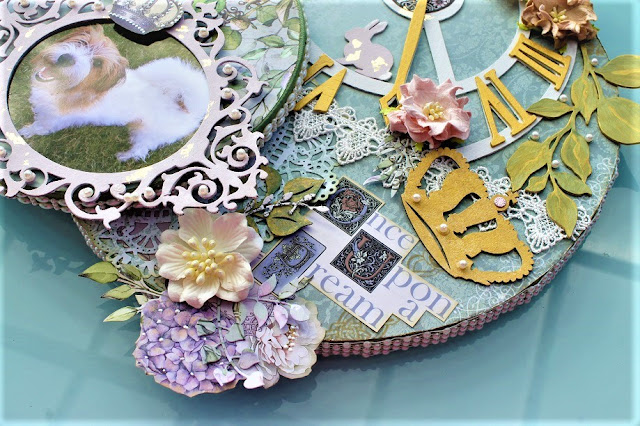
I have created an altered project using papers from 
the latest patterned paper collection 
called: Daydream Story Book


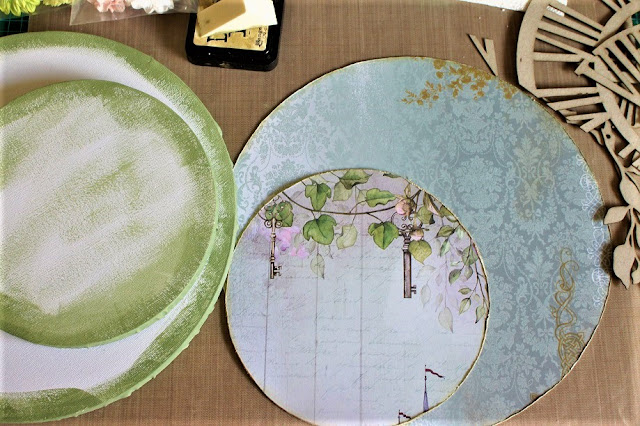
First I painted around the edges of the canvas with acrylic paint.
I then cut out two circle shapes, paper distressed the edges,
then ink the edges with distress ink.
 

All of the chipboard pieces have been painted,
using acrylic paints.


Building up the layers.


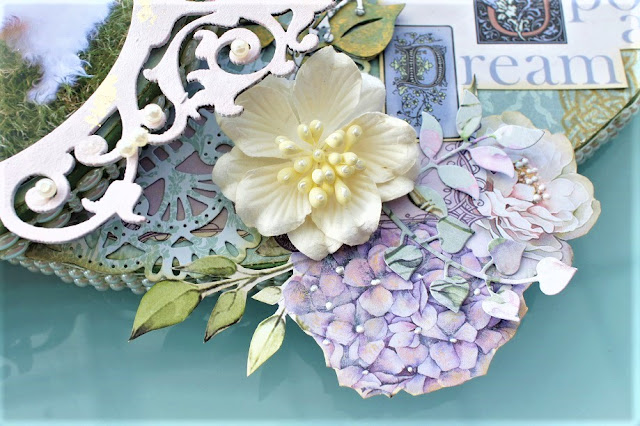
Some paper die and fussy cutting.


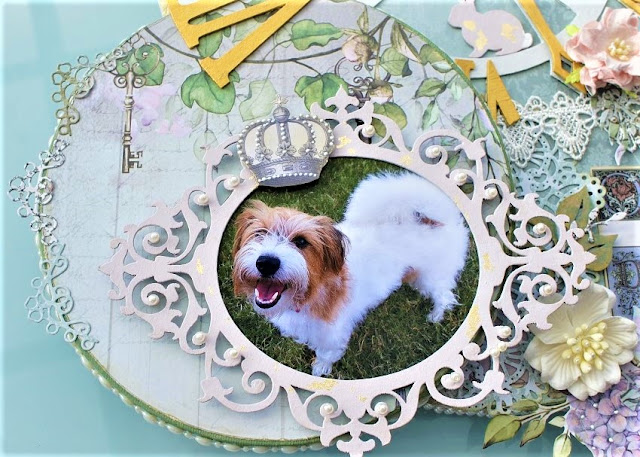
Adding lots of embellishments.


Adding bead trims to the edges.


Stop by Denise Boddey Design Store
for this beautiful paper collection
and chipboard used to create this project.

Have fun creating,
Leanne

June 5, 2022

One Sheet Wonder Album

 Good Morning 

We have certainly started winter with a wet week here in Adelaide hope you all are well and dry. On this post today we welcome back Julie with a gorgeous project today
Good morning

Today I want to share a great little one sheet wonder using 


  • Cut your sheet into 2 pieces 6" x 12"

  • Score each piece at 5" and 10"
  • Use a corner rounder on the two corners of the 2" section

  • Use double side tape or glue to attach one of the 2" sections 
  • to the outside front of the second piece applying tape/glue to two sides and the bottom.
  • It is easy to see this process in the video which is below

  • I used my Crop-O-Dial to add an eyelet to the 2" section on the right hand end of the folder.

  • I threaded ribbon through the eyelet and wrapped it around the album
  •  a couple of times and tied a bow.


  • made an assortment of embellishments for this album

  • I used 
  • Craft Barn Primrose Die
  • We R Memory Keepers Envelope Punch Board
  • Martha Stewart Score Board
  • Die-namics Just the Ticket die
  • Finniss Dies - Invitation 1 die
  • Denise Boddey Chipboard Arch

You can see how I used all of these things to decorate my album in my video


This is a fun, easy project and I hope you will try it out.

Thank you for spending part of your day here with me today

Until next time
Stay safe
Hugs
Julie